Dog tags are a great way to keep your pet safe and identifiable in case they get lost. They also make it easy for others to contact you if your dog is found. In this article, we will discuss the best way to attach dog tags to a collar, and common mistakes that people make when doing so. We will also provide some tips on how to choose the right dog tag for your pet.
The Best Way to Attach Your Dog’s Tag to a Collar
There are a few things to consider. The first is the type of collar your dog has. If your dog has a buckle collar, then you’ll want to thread the tag through one of the loops on the side of the buckle. If your dog has a martingale collar, thread the tag through the D-ring on the side of the collaring. If your dog has a slip lead, then you can either clip the tag onto the O-ring or slide it over the top of the lead and under its chin.

The second thing to consider is what kind of tags you have. If you have engraved tags, then you’ll want to ensure that the engraving is facing the right way so that it can be easily read. If you have plastic tags, then make sure that the tag is securely fastened to the collar so that it doesn’t fall off.
The third thing to consider is what you’re going to use to attach the tag to the collar. There are a few different options available, but the most common are split rings and S-hooks. Split rings are small metal rings that open up so that you can thread them through the hole in the tag and then close them again. This keeps the tag securely attached to the collar. S-hooks are similar, but they have a small hook on one end that goes through the hole in the tag and then hooks onto the collar. This is a little easier to take on and off, but it’s not as secure as a split ring.
Once you’ve chosen how you’re going to attach the tag to the collar, all that’s left is to do it! Just thread the tag through the loop or D-ring (or over the lead if you’re using a slip lead), and then attach it using either a split ring or S-hook. And that’s it! You’re now ready to go out and show off your well-dressed pup.
The Hidden Danger of S-hooks
While S-hooks are the easier option, they’re not without their dangers. The biggest danger is that they can come undone if your dog catches them on something. This can be anything from another dog’s teeth to a fence post or even just some tall grass. If the S-hook comes undone, then your dog’s tag could fall off and get lost. Some people prefer to use split rings because they are more reliable.
Always be careful of those pesky S-hooks.
Split Rings
There are two main ways to attach a dog tag to a collar – split rings and S-hooks. Split rings are the more secure option, but they can be a little more difficult to put on. S-hooks are easier to put on, but they’re not as secure. If you’re worried about your dog’s tags falling off, then go with split rings. If you’re just looking for an easy way to put the tags on, then S-hooks will do the trick.
Klippy
If you’re looking for an alternative to split rings or S-hooks, then you might want to try Klippy links. Klippy links are small metal clips that attach to the hole in your dog’s tag. They’re easy to put on and take off, and they’re just as secure as split rings. Plus, they come in a variety of colors so you can match them to your dog’s collar!
Collar Tags
There are a few factors to consider. The first is the size of the tag. You’ll want to make sure that the tag is big enough to be easily read, but not so big that it’s cumbersome. The second thing to consider is the material of the tag. Plastic tags are less likely to get lost, but they can be more difficult to read. Engraved tags are easy to read but can be lost more easily. And finally, you’ll want to decide what information you want on the tag. At a minimum, you should have your dog’s name and your contact information. But you might also want to include your vet’s information or any special instructions (like “No dogs”). [1]
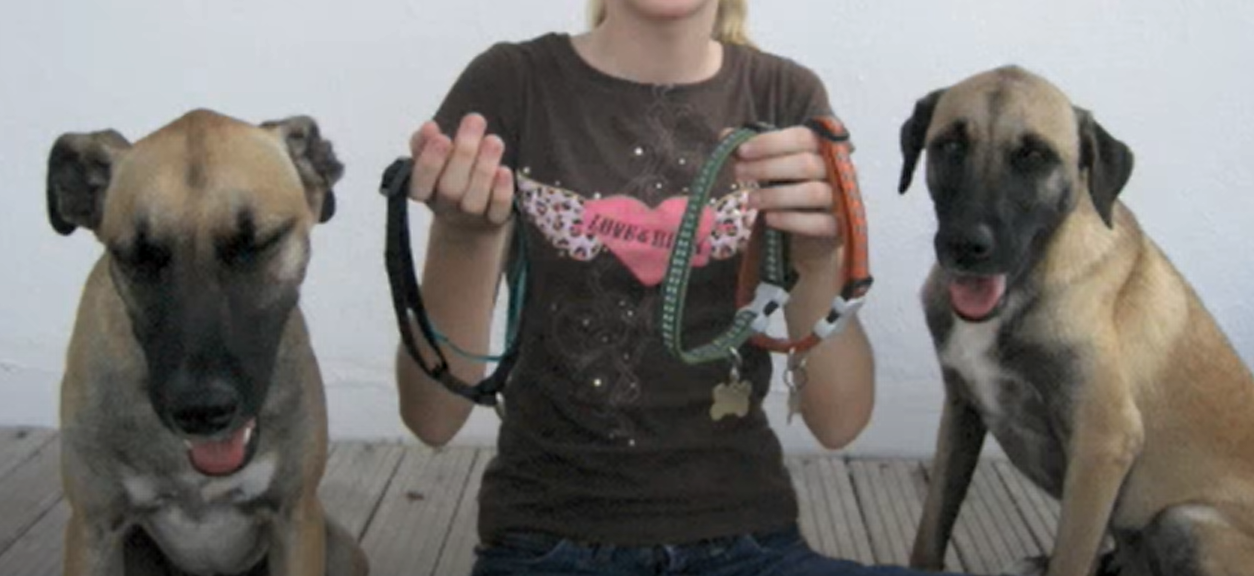
How to Attach a Dog Tag Collar?
The most common way is to use a split ring, which is a small metal ring with a split in it. You can also use an “S” hook or a keyring.
Step 1: Buy a Dog Tag
The first step is to buy a dog tag. You can find these at most pet stores or online. Ensure to get one that is the right size for your dog’s collar.
Step 2: Remove Current Collar
If your dog already has tags on their collar, you will need to remove them before attaching the new ones. This is easily done with a pair of pliers.
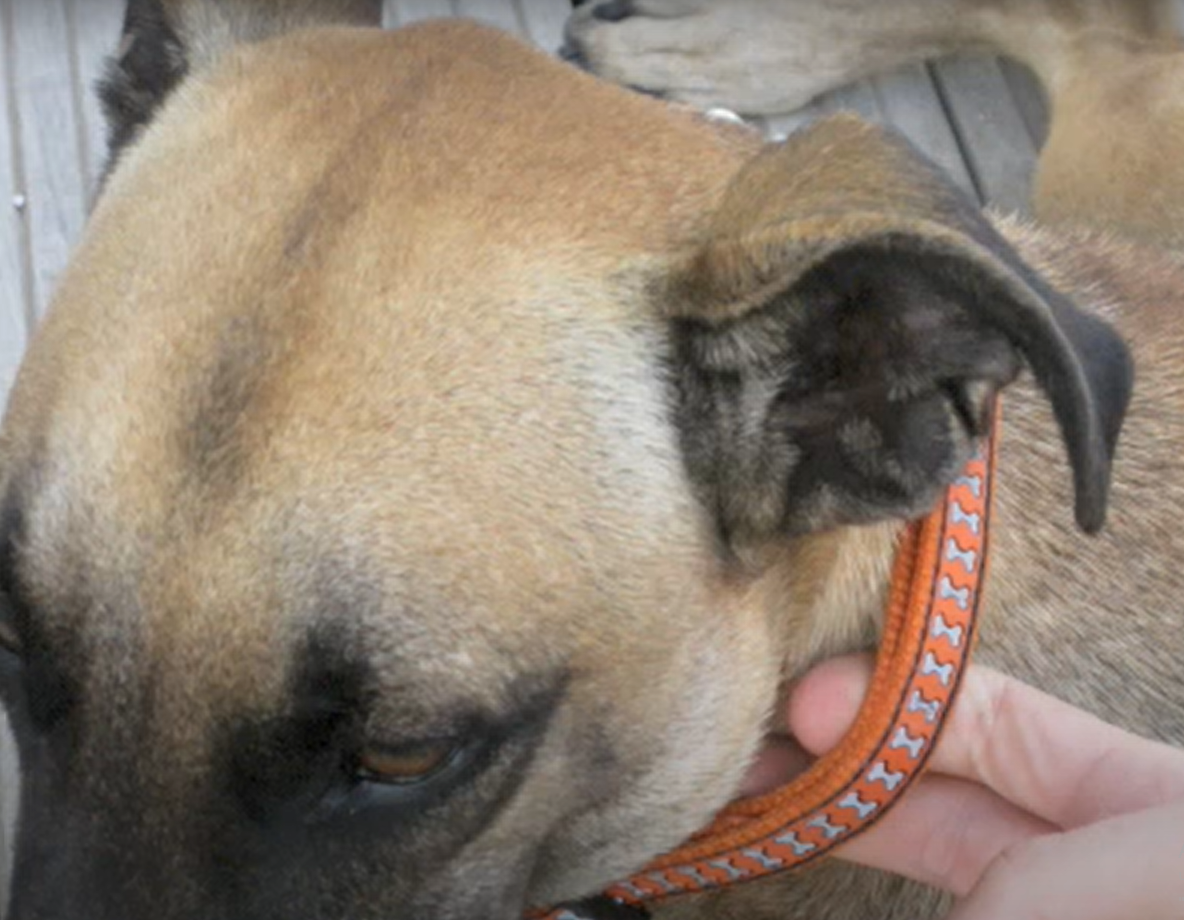
Just grab the end of the tag and pull it off the ring. If the tag is difficult to remove, you can also cut it off with a pair of scissors.
Step 3: Look for S Hook and Key Rings
Once you have the new tag, you will need to find an “S” hook or keyring. These can usually be found at your local hardware store.
If you can’t find one, you can also use a paperclip or bobby pin. Just bend it into the shape of an “S” or key ring.
Step 4: Get Fliers Ready
Now that you have everything you need, it’s time to get started. First, make sure the tag is facing the correct way. The side with the information should be facing up.
Next, take the “S” hook or keyring and thread it through the hole in the tag. If you’re using a paperclip or bobby pin, just bend it open and hook it onto the tag.
Finally, put the split ring through the other end of the “S” hook or keyring and close it tight. Now your dog’s tag is securely attached to their collar!
If you’re using an “S” hook, you can also attach multiple tags to it. This is helpful if you want to put your dog’s ID tag and rabies tag on the same ring. [2]
Just hook the additional tags onto the “S” hook and then thread it through the hole in the first tag.
Step 5: Attach The Tag
Now that the tag is securely attached, you can thread it through your dog’s collar. Just put the ring through the hole in the collar and then pull it tight.
Make sure the tag is facing the correct way so that people can easily read it. You may need to adjust the position of the tag on the collar to get it just right.
Now you know how to put dog tags on a collar! This is a quick and easy way to make sure your pup always has their ID with them. Plus, it’s a great way to show off their personality with a custom tag.
There are many different ways you can customize your dog’s tag. You can choose from a variety of materials, colors, and shapes. You can even have their name or your phone number engraved on the tag.
Step 6: Return the Dog Collar
Now that you’ve successfully put the dog tag on the collar, it’s time to put the collar back on your pup! Just slip it over their head and adjust it to fit snugly.
You may need to experiment with a few different collars before you find one that fits your dog perfectly. But once you do, they’ll be able to wear their tags with pride! Thanks for reading and good luck.
What Should Be Put On the Dog Tag?
There are a few things that you’ll want to put on the dog tag.
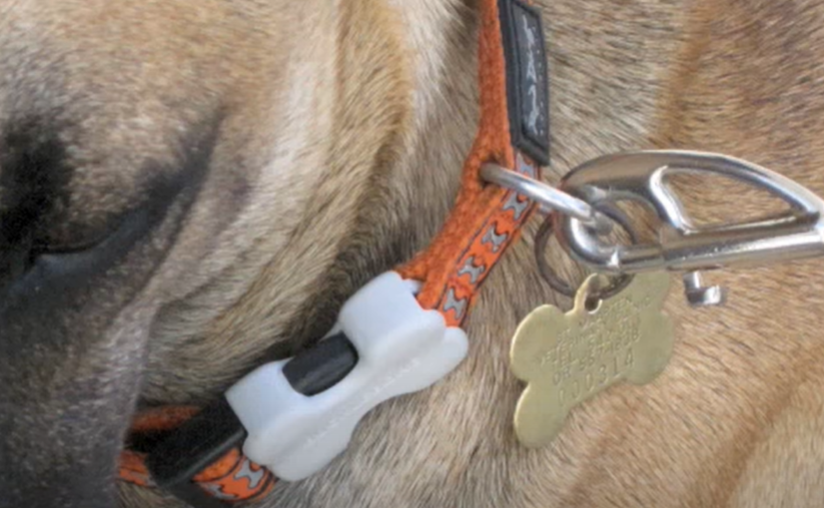
Owner’s Address, Number, and Name
This is in case your dog gets lost. Include your full address, including city and state, along with your phone number. If you have a common name, consider adding your middle initial to help identify you. You can also include an email address if you’d like.
Some people also choose to put their vet’s information on the tag as well, in case of an emergency.
You’ll also want to put the dog’s name on the tag. After all, that’s one of the main purposes of having a dog tag! If the dog has a nickname that they answer to better than their given name, feel free to put that on the tag instead.
Medical Conditions
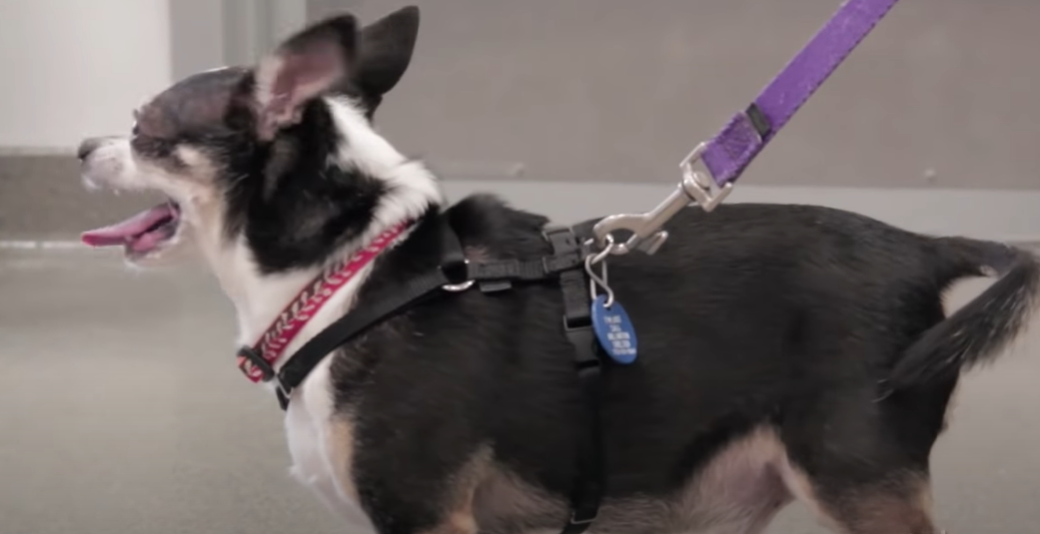
You may also want to include whether or not your dog is up to date on their vaccinations. This is particularly important if you’re traveling with your pet.
Some people also choose to put “In case of emergency, call ____” followed by a friend or family member’s name and phone number.
Putting all of this information on the tag will help ensure that your pet gets the care they need in case they get lost.
Reward Offer
If you’re worried about your dog getting lost, you may want to include a reward offer on the tag. This way, if someone finds your dog, they have an incentive to return them.
A common amount to offer is $50, but you can offer more or less depending on your budget and how much you love your pet.
Just be sure to include “no questions asked” so that people feel comfortable returning your dog without fear of getting in trouble.
Message
In addition to the more practical information, you may also want to include a message on the tag.
This could be something as simple as “Doggo loves belly rubs!” or “I’m a good boy!” It’s a fun way to personalize the tag and make it unique to your dog. [3]
Types of Dog Tag
There are two types of dog tag collars: the traditional collar with a ring to hold the tags, and the newer style with a built-in tag holder.
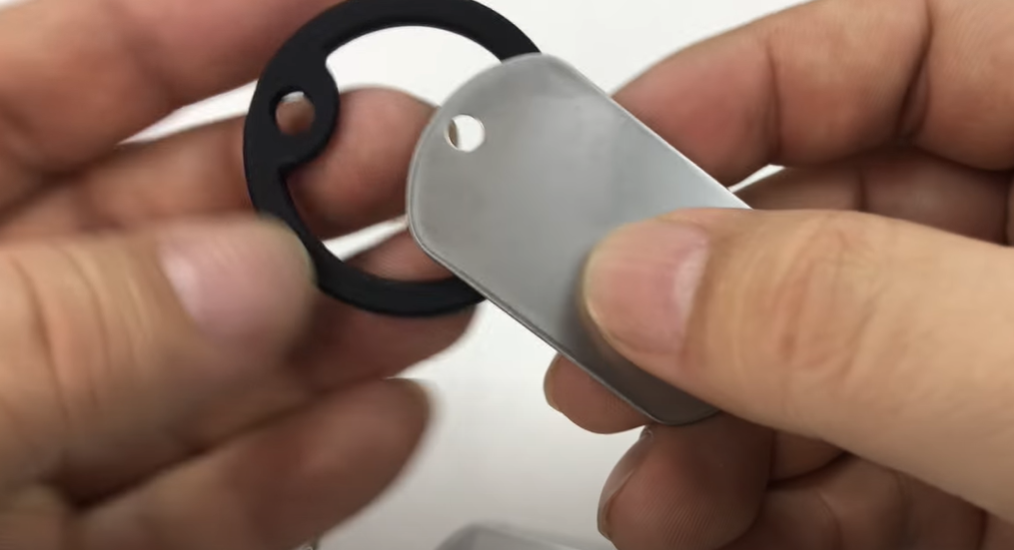
The traditional collar with a ring is the most common type of dog tag collar. It is simple to put on and take off, and you can use any type of ring that you like. The only downside is that the tags can sometimes jingle when your dog moves around.
The newer style of dog tag collar has a built-in tag holder. This makes it more difficult to put on and take off, but it eliminates the jingling noise. These collars also tend to be more expensive than traditional collars.
Hanging Tag
To put a dog tag on a traditional collar, start by threading the ring through the hole at the top of the tag. Then, thread the ring through the collar so that it hangs down from the back of the neck.
If you are using multiple tags, make sure to space them out evenly so that they do not rub against each other. You may also want to put the ID tag on one side and the rabies tag on the other.
Once all of the tags are in place, close the ring tightly so that it cannot be pulled off easily.
Slide-on Tag
Slide-on tags are attached to the collar using a small plastic or metal slide. To put a slide-on tag on a collar, start by threading the slide onto the collar. Then, insert the tag into the slot on the slide and push it until it clicks into place.
Some slides have a locking mechanism that will keep the tag from falling out. If your slide does not have this feature, you may want to use a drop of glue or super glue to secure the tag in place.
Once the tag is securely attached, trim any excess material from the Slide so that it cannot be seen.
Personalized Dog Collar
Personalized dog tags are a great way to add a special touch to your pet’s collar. You can have the tags engraved with your dog’s name, your phone number, or any other information that you want.
Most pet stores will offer engraving services, or you can purchase an engraving machine to do it yourself. If you choose to engrave the tags yourself, make sure to use a font that is easy to read.
Putting dog tags on a collar is a simple process that only takes a few minutes. By following these steps, you can be sure that your dog’s tags will stay in place and that they will be able to be read easily if they are ever lost.
These tips will help you keep your dog safe and ensure that it can always find its way home.
QR Dog Tag
A QR code dog tag is a new type of dog tag that contains a QR code. This code can be scanned by a smartphone to provide information about your dog, such as its name, your contact information, and any medical conditions they have.
To put a QR code tag on your dog’s collar, start by downloading a QR code reader app onto your phone. Then, hold the phone up to the QR code on the tag and scan it. The app will then store the information from the tag in your phone’s memory. [4]
If you lose your dog, anyone who finds them will be able to scan their collar and quickly get in touch with you.
QR codes are a great way to add an extra layer of protection for your pet. By using a QR code tag, you can be sure that your dog will always have a way to get home.
FAQ
How do I put a dog tag on a collar?
This is a question we get asked a lot, and it’s actually pretty simple! All you need is a dog tag and a collar (we recommend Heavy Duty Nylon Dog Collar for this), and you’re good to go.
If you’re looking for something a little more secure, you can also use our stainless steel lobster clasp. Simply thread the dog tag through the clasp and then snap it shut. This will keep your dog’s tags from falling off, even if they’re running around like crazy! [5]
How do you rivet a tag on a dog collar?
Riveting a dog tag onto a collar is actually pretty easy, and it’s a great way to make sure that your dog’s tags stay put. All you need is a rivet setter and some heavy-duty rivets (we recommend Stainless Steel Rivets for this). [6]
Just thread the dog tag through the collar, and then use the rivet setter to attach the rivets. That’s it! Your dog’s tags will now be securely attached to its collar.
Where do you put the tags on a martingale collar?
The martingale collar is a unique type of dog collar that helps to prevent your dog from slipping out of its collar. It does this by cinching tighter around their neck when they pull. The martingale collar has two loops, the smaller loop goes around the dog’s neck and the larger loop attaches to the leash. The tags should go on the larger loop so that they do not get in the way of the cinching action.
If you have a standard buckle collar, you will want to put the tags on the D-ring (the ring that the leash attaches to). This way they are out of the way of any Buckles and won’t get snagged on anything.
Putting tags on a collar is easy, but there are a few things you should keep in mind. First, make sure that the tags are not too big or bulky. You don’t want them to get caught on anything or be uncomfortable for your dog. Second, if you have more than one dog, put their tags on separate collars so that they don’t get tangled up. And finally, make sure that the information on the tags is legible and up to date.
How do you put on a rabies tag?
The rabies tag is the most important tag for your dog, as it indicates that your pet has been vaccinated against this deadly disease. The tag should be placed on the collar so that it is easily visible. If you are using a traditional metal collar, you can simply thread the rabies tag through the collar and secure it with a split ring. If you are using a nylon or cloth collar, you will need to use a small piece of string or ribbon to tie the rabies tag to the collar. [7]
Additional Tips:
- Make sure that the rabies tag is securely attached to the collar.
- You can also purchase a special tag holder that attaches to the collar and holds the tags securely in place. This is a good option if you are worried about the tags falling off or getting lost.
- Make sure all of your contact information is up to date on the tags, as this will be the best way for someone to reach you if your pet is found.
- Be sure to check the tags regularly to make sure they are still legible and in good condition. You may need to replace the tags every few years depending on how often they are exposed to wear and tear.
- Keep a recent photo of your pet on hand, as this will be helpful if they ever do get lost. Make sure the photo is clear and shows its distinguishing features so that it can be used for identification purposes.
Useful Video: How to attach a ID tag to a collar/Installing a rivet on a nameplate for a dog collar
Conclusion
In conclusion, it is important to ensure that your dog has a collar with its tags securely attached. This will ensure that they can be properly identified if they are ever lost or found by animal control. Keep your contact information up to date on the tags, and check them regularly for wear and tear. By following these tips, you can help ensure that your furry friend stays safe and sound! Thanks for reading!
References
- https://www.luckypet.com/blogs/news/the-best-way-to-attach-your-pets-tag-to-a-collar
- https://www.pawcited.com/how-to-attach-dog-tag-to-collar/
- https://www.rover.com/blog/what-should-i-put-on-my-dogs-tag/
- https://www.akc.org/expert-advice/health/dog-tags-for-pets/
- https://waudog.com/blogs/waudog-blog/how-to-put-dog-tag-on-collar
- https://www.amazon.com/LuckyPet-Personalized-Customized-Directly-Stainless/dp/B00A303GL2
- https://www.cuteness.com/article/do-shooks-work-pet-tags






Securing dog tags onto a collar became a breeze for me when I discovered the wonders of silicone tag holders. These flexible and durable holders easily slip onto the collar, keeping the tags securely in place without the jingle-jangle noise. It’s a game-changer, especially for those late-night walks when I don’t want to disturb the neighborhood with noisy tags. Plus, they offer an extra layer of protection for the tags, preventing wear and tear over time. I highly recommend these silicone holders for a hassle-free and silent tag attachment experience.
Finding a solution to prevent tag scratching was crucial for me, and that’s when I stumbled upon tag silencers made of neoprene. These sleek, rubber-like covers encase the tags, eliminating the irritating metal-on-metal sound and protecting them from scratches. It’s particularly useful for dogs who are sensitive to the noise or those with a penchant for scratching behind their ears. With neoprene tag silencers, I’ve not only kept my dog’s information secure but also maintained a quieter and more comfortable environment for both of us during our daily adventures.
As a dog owner with a lively pup, I needed a secure and reliable method to attach tags to the collar. Opting for a split-ring set-up was a game-changer. This classic approach involves using two separate metal rings—one for the tags and the other for attaching to the collar. The tags stay in place, and I can easily switch them between collars if needed. It’s a straightforward and effective method that ensures my dog’s identification is always within reach, providing peace of mind whether we’re at home or out exploring.
I encountered the challenge of managing multiple tags for my dog, including identification and vaccination tags. The solution that worked wonders for me was utilizing a sturdy S-hook. This simple but ingenious tool allowed me to attach multiple tags securely to my dog’s collar without the hassle of dealing with multiple split rings. It streamlined the process, making it easy to update tags when needed and ensuring that my dog’s essential information is always accessible. The S-hook is now a staple in my dog care toolkit for its practicality and efficiency.
Dealing with a dog who loves water activities, I needed a foolproof method to secure tags that wouldn’t rust or degrade. Enter waterproof tag pouches—an absolute game-changer. These transparent pouches keep the tags dry and readable, even after a swim or a romp in the rain. They are easy to use, slip onto the collar effortlessly, and provide an additional layer of protection against wear and tear. It’s a reliable solution that has kept my dog’s tags intact and legible, regardless of our outdoor adventures involving water.
Navigating the challenge of a dog who’s a bit of an escape artist, I found peace of mind with a secure and durable alternative to traditional split rings. The carabiner-style clips proved to be a game-changer for me. These sturdy clips not only make attaching and detaching tags a breeze but also provide an extra layer of security. With the added benefit of quick tag transfers between collars, these clips are a practical solution for dog owners who value both convenience and reliability.
As a devoted pet owner, I always want to ensure my dog’s safety, and that includes making sure his identification tags stay put. Trying out engraved buckle collars revolutionized the way I secure tags. These collars come with a built-in metal plate, personalized with my dog’s information. It eliminates the need for separate tags, reducing jingle noise and potential tag loss. The added bonus is that the engraved information is clearly visible, making it a stylish and efficient solution for keeping my furry friend safe.
Dealing with a particularly energetic pup, I needed a foolproof method to prevent tag loss during our lively play sessions. The solution came in the form of rubberized loops that slide onto the collar. These loops securely hold the tags in place, providing a snug fit that withstands all the running and jumping. It’s a practical and durable solution, ensuring that even the most spirited dogs can enjoy their outdoor adventures without the worry of losing essential identification.
Struggling with the constant jingling of metal tags, I discovered the beauty of leather tag pouches. These stylish and functional pouches not only muffle the sound of jingling tags but also protect them from scratches. The leather ages gracefully, adding a touch of sophistication to my dog’s collar. It’s a perfect blend of style and practicality, ensuring that my dog’s tags stay secure without sacrificing the aesthetic appeal of his collar.
Living in an area with unpredictable weather, I needed a solution that could withstand the elements. Opting for stainless steel slide-on tags proved to be the answer. These tags effortlessly slide onto the collar, staying put even in rainy or humid conditions. The stainless steel construction ensures durability, preventing rust and maintaining legibility. It’s a reliable and weather-resistant option that has proven essential for keeping my dog’s identification intact, regardless of the outdoor conditions we face.
Addressing the challenge of a dog who loves exploring dense foliage, I turned to tag pouches with reflective strips. These pouches not only protect the tags from snagging on branches but also enhance visibility during nighttime walks. The reflective strips ensure that my dog’s crucial identification is visible even in low light conditions, providing an extra layer of safety. It’s a practical solution that combines protection with visibility for both daytime and nighttime adventures.
Living in an area with extreme temperature fluctuations, I needed a solution that could withstand the elements. Utilizing weather-resistant and UV-protected tag covers became my go-to choice. These covers not only shield the tags from the sun’s rays but also prevent fading and deterioration. The durable material ensures longevity, making it a reliable option for dog owners facing the challenges of harsh weather conditions. It’s a simple yet effective way to preserve the integrity of my dog’s tags, regardless of the climate.
Dealing with a dog who enjoys water activities, I opted for engraved silicone tags. These tags are not only lightweight and durable but also waterproof. The engraved information stays clear and legible, even after a swim or a run in the rain. The flexibility of silicone prevents any discomfort for my dog, making it an ideal solution for water-loving canines. It’s a reliable choice that ensures my dog’s identification remains intact, regardless of his aquatic adventures.
Tackling the issue of tag noise during quiet moments at home, I embraced the use of leather tag pouches with a magnetic closure. The magnetic closure eliminates the traditional jingling sound while providing easy access to the tags when needed. The leather pouches add a touch of sophistication to my dog’s collar, making it a stylish and noise-free option. It’s a thoughtful choice for dog owners who appreciate both aesthetics and the need for a peaceful indoor environment.
Facing the challenge of a dog with sensitive skin, I explored lightweight and hypoallergenic tag options. Titanium tags emerged as the perfect solution. These tags are not only durable but also gentle on my dog’s skin, preventing any irritation or discomfort. The lightweight nature of titanium ensures that my dog doesn’t feel weighed down by his tags. It’s a practical and skin-friendly choice that prioritizes my dog’s comfort while maintaining the essential identification he needs.